As the world continues to evolve and technology advances, humanity is constantly searching for new ways to improve our daily lives. One area where technology has made significant strides in recent years is in the field of renewable energy. Among the various forms of renewable energy, solar power has gained immense popularity due to its abundance, sustainability, and environmental benefits. However, the high cost of commercial solar panels remains a barrier for many individuals and communities who want to switch to clean energy. In this blog post, we will delve into the world of DIY solar panels and explore how to make a solar panel using aluminum foil.
Yes, you heard that right – aluminum foil, the humble household item that we use to wrap our food, can be transformed into a functional solar panel that generates electricity. While it may not be as efficient as commercial solar panels, this DIY project can provide a fun and educational experience while also helping us reduce our carbon footprint.
So, let’s get started and learn how to make a solar panel with aluminum foil!
Materials Needed to Make a Solar Panel with Aluminum Foil
Before we begin, let’s take a look at the materials we need for this project:
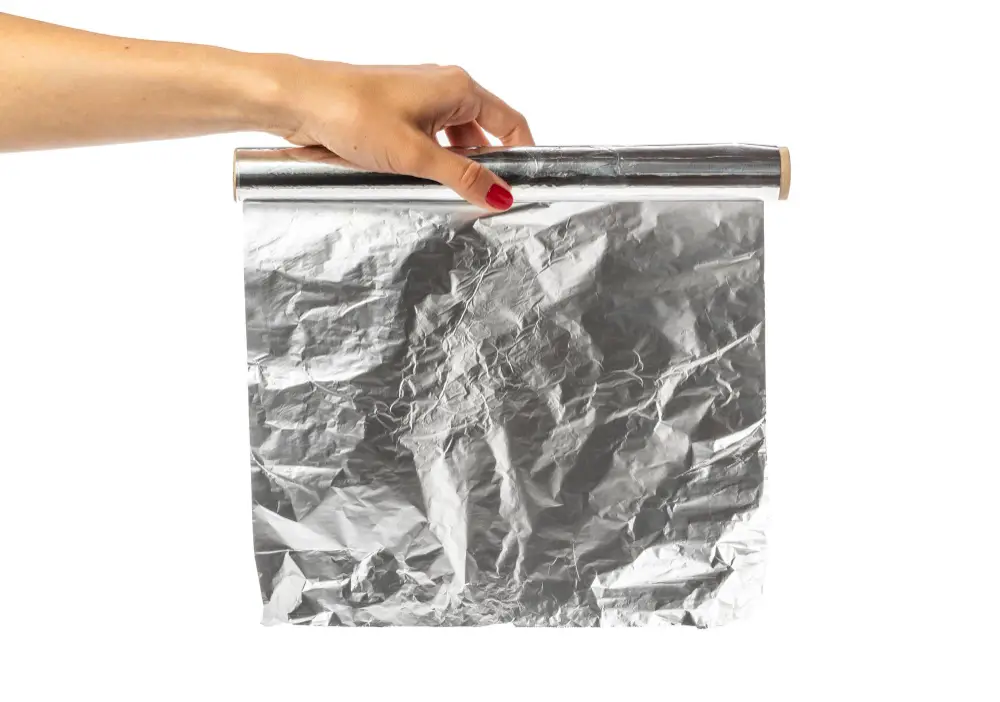
- Aluminum foil (preferably thick and durable)
- Cardboard or any other rigid material for backing
- Scissors or a craft knife
- Glue or tape
- Conductive wire (such as copper or aluminum)
- Electrical connections (such as soldering iron or crimpers)
- Multimeter (optional)
- Sunlight
Step 1: Cutting the Aluminum Foil for Solar Panels
The first step is to cut the aluminum foil into long strips, approximately 1-2 inches wide and 10-15 feet long. You can use scissors or a craft knife to cut the foil, but make sure to wear protective gloves to avoid injury. It’s important to note that thicker aluminum foil will produce better results than thinner foil, so choose accordingly.
Step 2: Creating the Grid Pattern
Once you have your strips of aluminum foil, the next step is to create a grid pattern on each strip. To do this, simply fold the strip in half lengthwise and then crease it with your finger or a ruler. Unfold the strip and you should see a faint line running down the center. This line will serve as the dividing point for your grid pattern.
Using a ruler or straightedge, draw lines across the strip, spaced about 1/4 inch apart. These lines will form the grid pattern that will help us collect electrical current from the sun’s rays. Make sure to draw lines on both sides of the creased line, as this will help us create a more efficient solar panel.
Step 3: Cutting the Grid Pattern
After drawing the grid pattern, the next step is to cut along the lines using scissors or a craft knife. Be careful not to cut yourself! As you cut along the lines, you should end up with a series of interconnected squares and rectangles. Discard the scraps and set aside the cut pieces for now.
Step 4: Preparing the Backing Material
We need a rigid material to mount our aluminum foil grid patterns onto. You can use cardboard, wood, or even plastic for this purpose. Cut your chosen material to roughly the same size as your aluminum foil strips.
Step 5: Assembling the Solar Panel
This is the most crucial part of the process. Take one of your aluminum foil grid patterns and place it on top of your backing material, ensuring that it’s centered and evenly spaced. Apply a thin layer of glue or tape to the back of the grid pattern and attach it firmly to the backing material. Repeat this process with the remaining grid patterns, spacing them out evenly on the backing material.
Step 6: Connecting the Wires
To create an electrical circuit, we need to connect the wires to the aluminum foil grid patterns. Cut two lengths of conductive wire (such as copper or aluminum) and strip the insulation from the ends. Using a soldering iron or crimpers, connect one end of each wire to a square or rectangle on the aluminum foil grid pattern. Make sure the wires are securely connected and won’t come loose over time.
Repeat this process for the remaining squares or rectangles on the grid pattern, connecting one wire to each square or rectangle. This will create a series of interconnected solar cells that can generate electricity when exposed to light
Step 7: Attaching the Wires to the Solar Panel
Now that we have our aluminum foil grid patterns connected to the backing material, we need to attach the wires to the solar panel. Take one of the wires and thread it through the holes you created in the backing material. Make sure the wire is long enough to reach the edge of the solar panel.
Repeat this process with the second wire, making sure it’s attached to the opposite side of the solar panel. This will ensure that the wires are not touching each other and creating a short circuit.
Step 8: Connecting the Wires to the Battery
Next, we need to connect the wires to a battery. We’ll use a small 9V battery for this project. Take the positive terminal of the battery (the longer one) and connect it to one of the wires. Use a piece of electrical tape to secure the connection.
Repeat this process with the negative terminal of the battery (the shorter one) and the second wire. Make sure the connections are tight and won’t come loose over time.
Step 9: Testing the Aluminum Made Solar Panel
Finally, we can test our solar panel! Place the solar panel in direct sunlight and watch the voltage meter. If everything is working correctly, you should see the voltage reading increase as the sun shines on the panel.
If you don’t see any movement on the voltage meter, double-check all of your connections to make sure they’re secure and properly aligned. Once you’ve confirmed that everything is working correctly, you can start charging your battery using the solar panel.
Tips for Making a Solar Panel with Aluminum Foil
Here are some tips and variations to keep in mind when building your own solar panel:
- Use a larger battery: If you want to store more energy, consider using a larger battery like a 12V deep cycle battery. Just keep in mind that you’ll need to adjust the wiring and connections accordingly.
- Add more solar cells: To increase the efficiency of your solar panel, add more solar cells by repeating steps 4-8. Just make sure to space them out evenly to maximize exposure to sunlight.
- Incorporate a charge controller: A charge controller helps regulate the flow of energy from the solar panel to the battery, preventing overcharging or undercharging. You can purchase a charge controller online or build one yourself using an Arduino board.
- Create a portable solar panel: Mount your solar panel on a wooden or plastic frame and add handles for easy transportation. This way, you can take your solar panel with you wherever you go.
- Build a solar-powered device: Instead of just charging a battery, consider building a solar-powered device like a lantern, radio, or phone charger. This will allow you to put your harvested energy to good use.
Conclusion
Building a solar panel from scratch might seem intimidating, but with these instructions, you can create a functional and efficient solar panel that charges a battery. Remember to follow safety precautions, use proper materials, and be patient during the assembly process. Happy building!