With the rising cost of electricity and an increased focus on renewable energy sources, many homeowners are considering the installation of solar panels on their properties. One way to do this is by performing a DIY solar panel patio cover. Not only will a solar panel patio cover generate clean, renewable energy for your home, but it can also provide shade and protection from the elements for your outdoor living space.
In this blog, we will outline the steps for building a DIY solar panel patio cover, as well as the materials and tools you will need. With some basic carpentry skills and a little bit of elbow grease, you can easily build a solar panel patio cover yourself. Below we have described “how to build a solar panel patio cover” in detail.
Essential Things to Consider Before DIY Solar Panel Patio Cover
Solar patio cover or solar pergola is an effective way to power your home with solar energy. If you are out of space for solar installation at your home, using a solar patio over an make things right for you. However, before you begin D0-it-Yourself solar patio cover, you must consider a couple of things mentioned below:
Determine the feasibility of solar energy for your home
The first step in installing a solar panel patio cover is to determine whether solar energy is a viable option for your home. Consider factors such as the amount of sun your patio receives, the size of your patio, and your energy needs. You may want to consult with a professional or use online resources to help you assess the feasibility of solar energy for your home.
Choose the right solar panel system
Once you have determined that solar energy is a good fit for your home, you will need to choose the right solar panel system for your needs. Consider factors such as the size of your patio and your energy needs when selecting a solar panel system. You may want to consult with a professional or use online resources to help you choose the right solar panel system for your home.
Step by Step Process of DIY Solar Panel Patio Cover
Below is the step by step guide to make solar patio cover installation easy for you.
Step 1: Plan and Design
Before you begin building your solar panel patio cover, it is important to plan and design your project carefully. Consider the size and orientation of your patio, as well as the amount of sun it receives. You will want to ensure that your solar panel patio cover is properly sized and positioned to maximize solar energy generation.
You should also consider the style and appearance of your solar panel patio cover. Will it be a standalone structure, or will it be attached to your home? Will it be a flat or sloped roof? You may want to sketch out your design and consult with a professional or use online resources to help you with the planning process.
Step 2: Gather Materials and Tools
Once you have a clear plan in place, it’s time to gather the materials and tools you will need for your project. Here is a list of the items you will need:
- Solar panels
- Aluminum frame for solar panels
- Lumber for framing
- Roofing material (such as corrugated metal or shingles)
- Nails and screws
- Hammer or drill
- Measuring tape
- Level
- Saw
- Safety goggles and gloves
Step 3: Prepare the Site for DIY Solar Panel Patio Cover
Before you begin building, you will need to prepare the site where your solar panel patio cover will be located. This may involve clearing away debris and leveling the ground. You will also want to make sure that you have all the necessary permits in place.
Step 4: Build the Frame
Once the site is prepared, it’s time to start building the frame for your solar panel patio cover. Using the lumber you have purchased, build the frame to the size and shape of your design. Use a level to ensure that your frame is straight and square.
Step 5: Attach the Roofing Material
Once the frame is complete, you can attach the roofing material of your choice. This can be corrugated metal or shingles, depending on the look you are going for and the weather conditions in your area. Make sure to use nails or screws to securely attach the roofing material to the frame.
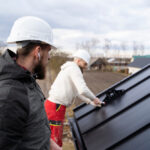
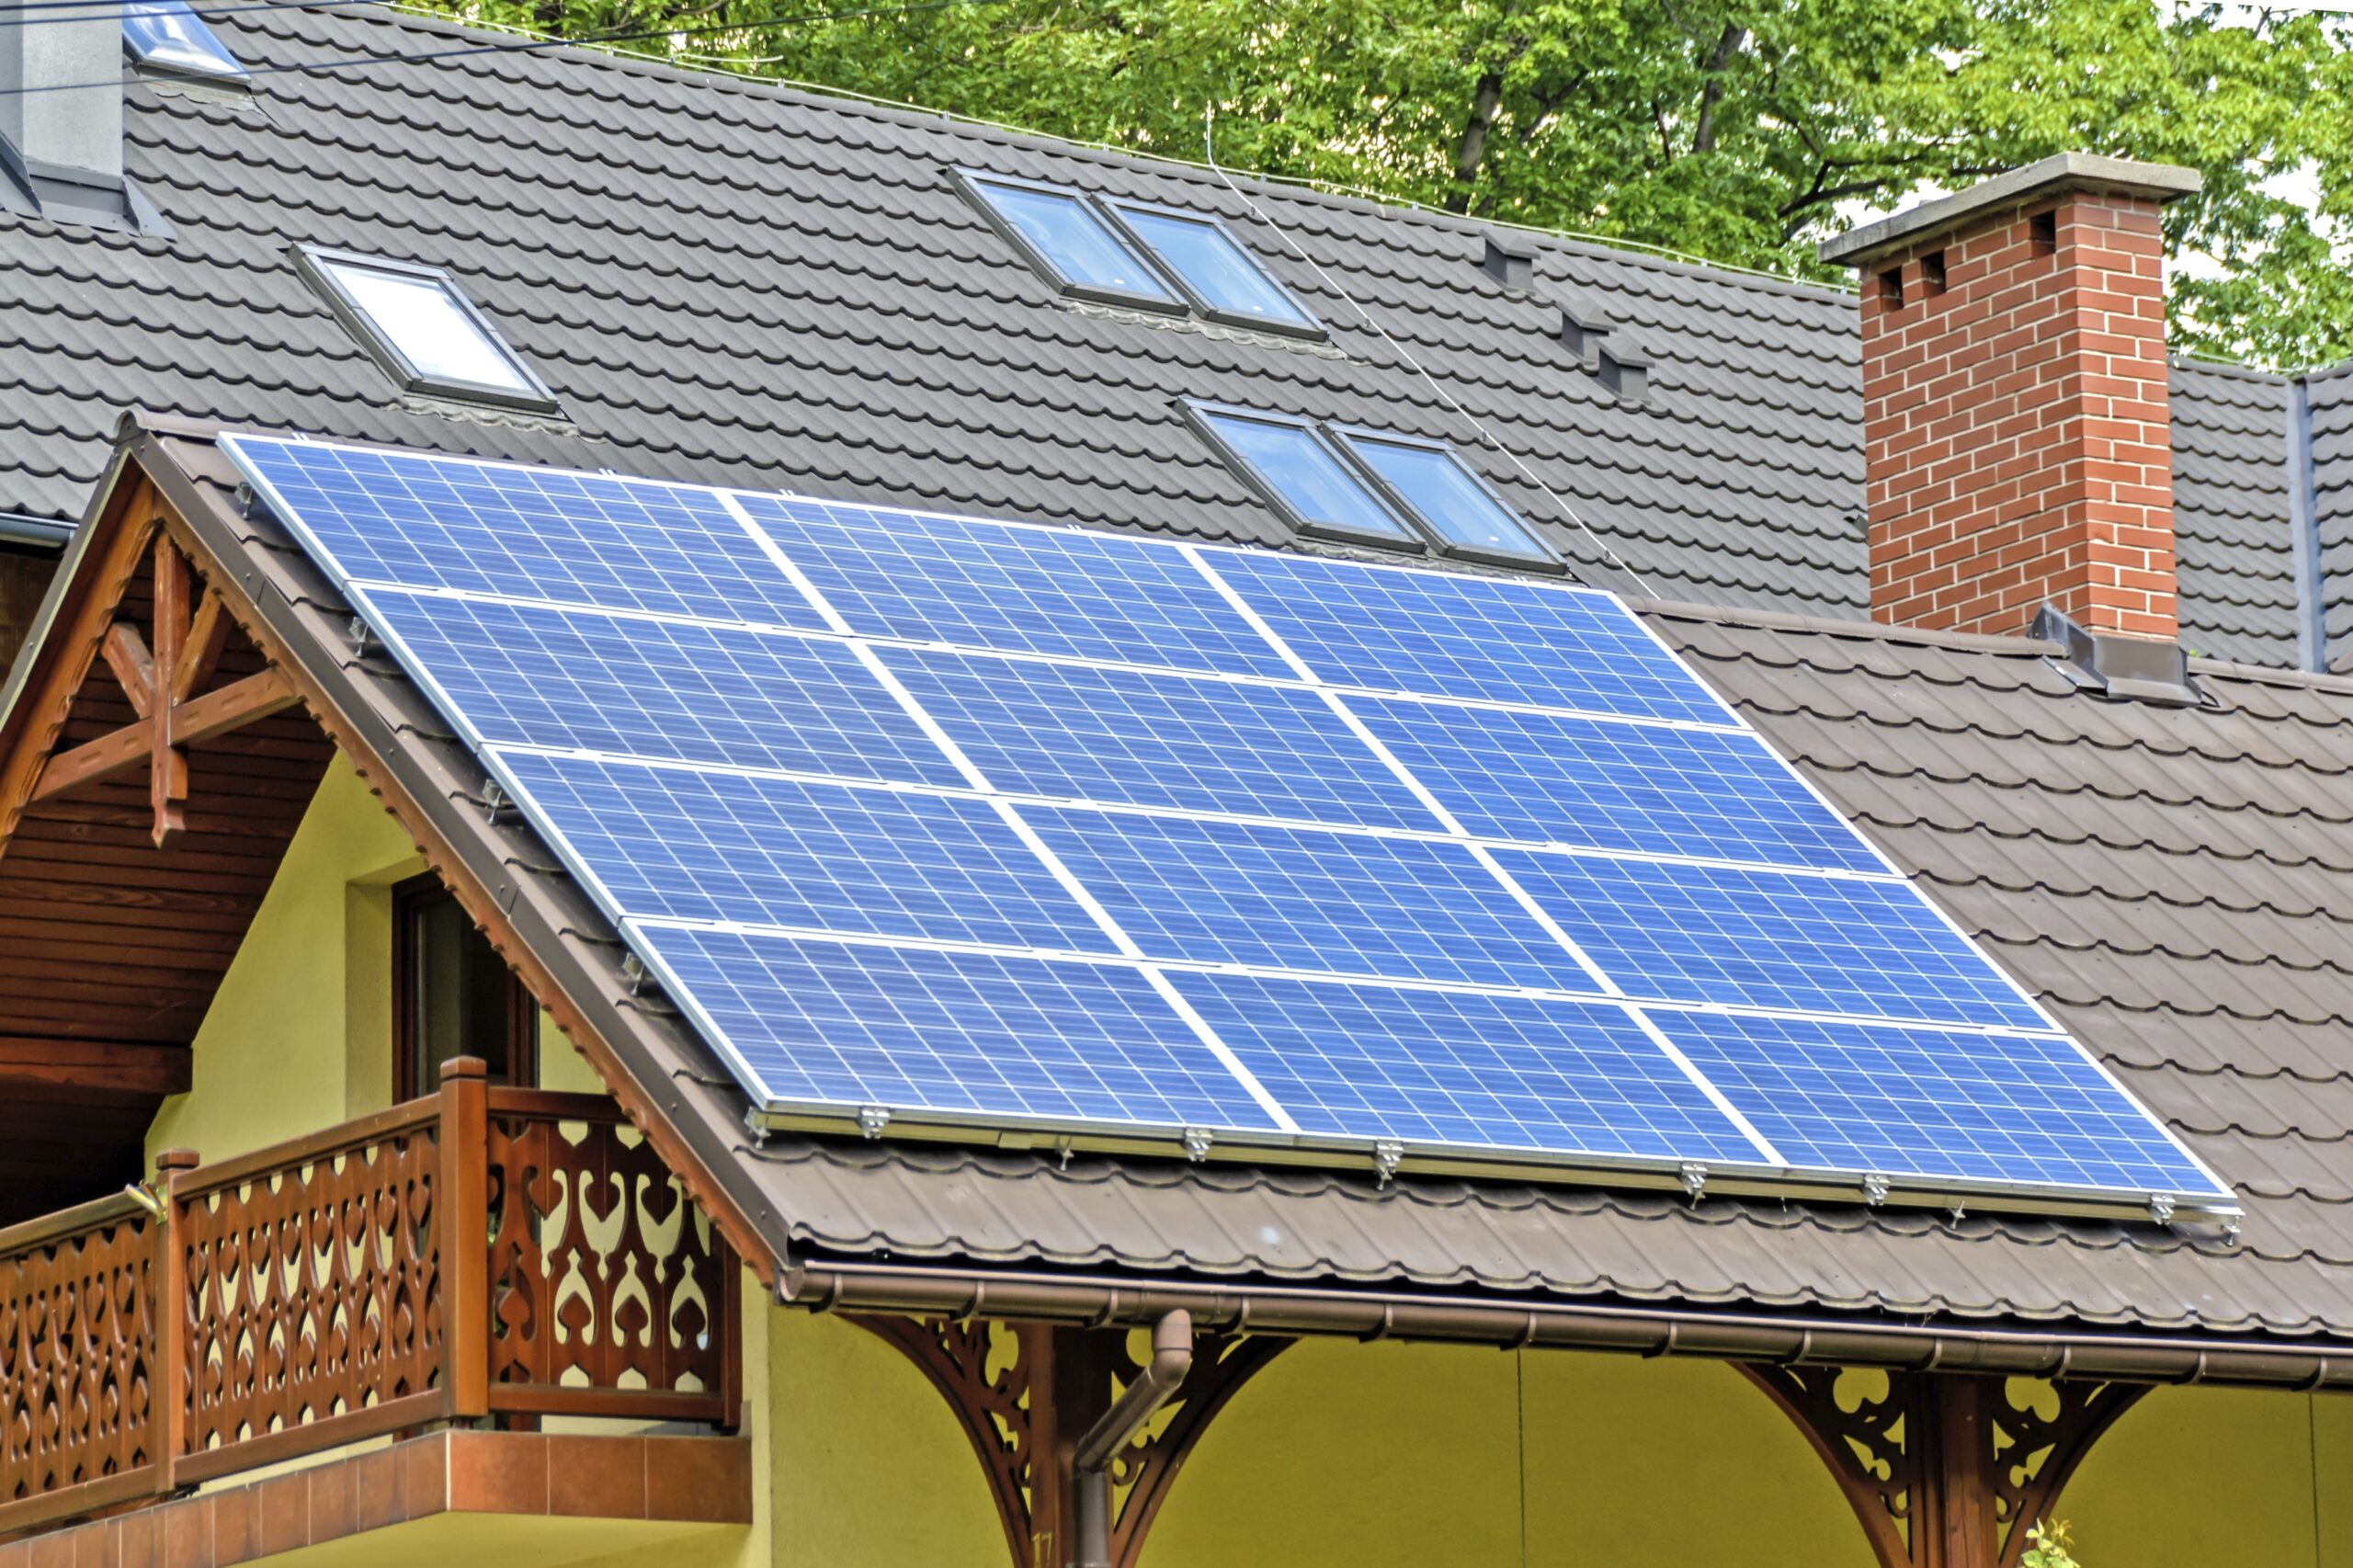
Step 6: Install the Solar Panels
With the roofing material in place, it’s time to install the solar panels. Use the aluminum frame you purchased to hold the solar panels in place and attach it to the frame of your patio cover using screws. Make sure to follow the manufacturer’s instructions for installing solar panels.
Step 7: Final Touches
With the solar panels in place, you can add any final touches to your solar panel patio cover. This might include painting or staining the frame, or installing lighting or other features.
Conclusion:
Building a DIY solar panel patio cover can be a rewarding and cost-effective way to generate clean, renewable energy. With a little bit of planning and elbow grease, you can easily build your own solar panel patio cover and start enjoying the benefits of solar energy.
By following these steps, you can successfully install a solar panel patio cover in your home. It is important to note that while building a solar panel patio cover can be a rewarding DIY project, it may also be beneficial to consult with a professional for assistance with the installation process. Good luck with your solar panel patio cover project!