Many brand-new residences and eco-friendly building initiatives are already taking advantage of renewable energy options. A solar air conditioner for RV can significantly cut energy expenses and boost its capacity to function independently of traditional power grids.
In any case, does solar energy truly produce enough watts to operate major appliances like an RV air conditioner?
So, can solar panels provide enough energy to run an RV air conditioner? Solar panels can provide enough energy to run even the most powerful RV air conditioners, but you’ll need to tailor your system’s layout to the specifics of your vehicle and its cooling needs. When deciding how many solar panels to install to power a solar air conditioner for RV you’ll need to consider both these considerations and the size of the panels you install.
What to Consider While Planning for a Solar Air Conditioner for RV?
The size of your RV solar power system is the single most essential aspect in determining how well it will work with your RV. One size does not fit all. The solar array, the battery bank, and the inverter are the three components that require additional sizing consideration if you want the solar panels on your RV to be able to power the air conditioner.
Solar Panels of Right Size
Solar panels can be used to power your AC unit. However, they need to be able to generate a lot of power. Some air conditioners, for instance, have power needs of 2.5kw. Therefore, you’ll need a solar panel system with at least 3 kilowatts of power in order to run the AC nonstop.
If you want to run the air conditioner for five hours per day, it will drain 750 Ah from the batteries every day.
The solar panels must be able to produce 107 amps 24/7 to meet this demand. Of course, this assumes the weather is nice and there is plenty of sunshine. More effort is required because of the cloudy skies. It takes at least 1,500 watts of solar panels to run a 13,500 BTU air conditioner.
Size of Solar Battery Bank
Since running an air conditioner at its maximum efficiency requires 150 amps, 150 Ah is required for auxiliary equipment for each hour of non-sunlight use.
When operating under less-than-ideal conditions, such as when the sky is overcast or when the sun has set, a much larger battery bank is necessary.
To give just one example, it wouldn’t be enough to have 300 Ah; it would need 700 Ah or more. This extends the battery life during the night and overcast days.
Size of Solar Inverter
An enormous inverter is required to run an RV air conditioner off of solar panels. A 13,500 BTU air conditioner, for instance, needs an inverter with an initial output of around 2,800–3,000 W. Your inverter’s power output should ideally range from 3,500 W to 4,000 W to prevent it from overheating. Additionally, some other instances include:
- It takes 1,700 watts to kick on a 7,000 BTU RV air conditioner and just 600 watts to keep it cool.
- The initial two thousand watts of power for a 10,000 BTU RV air conditioner are needed to get the unit up and running, with just 700 watts needed to keep it cool.
- A 15,000 BTU recreational vehicle air conditioner will take 3,500 watts to start up and 1,500 watts to maintain operating temperature.
How to Install Solar Panels for RV AC Conditioner?
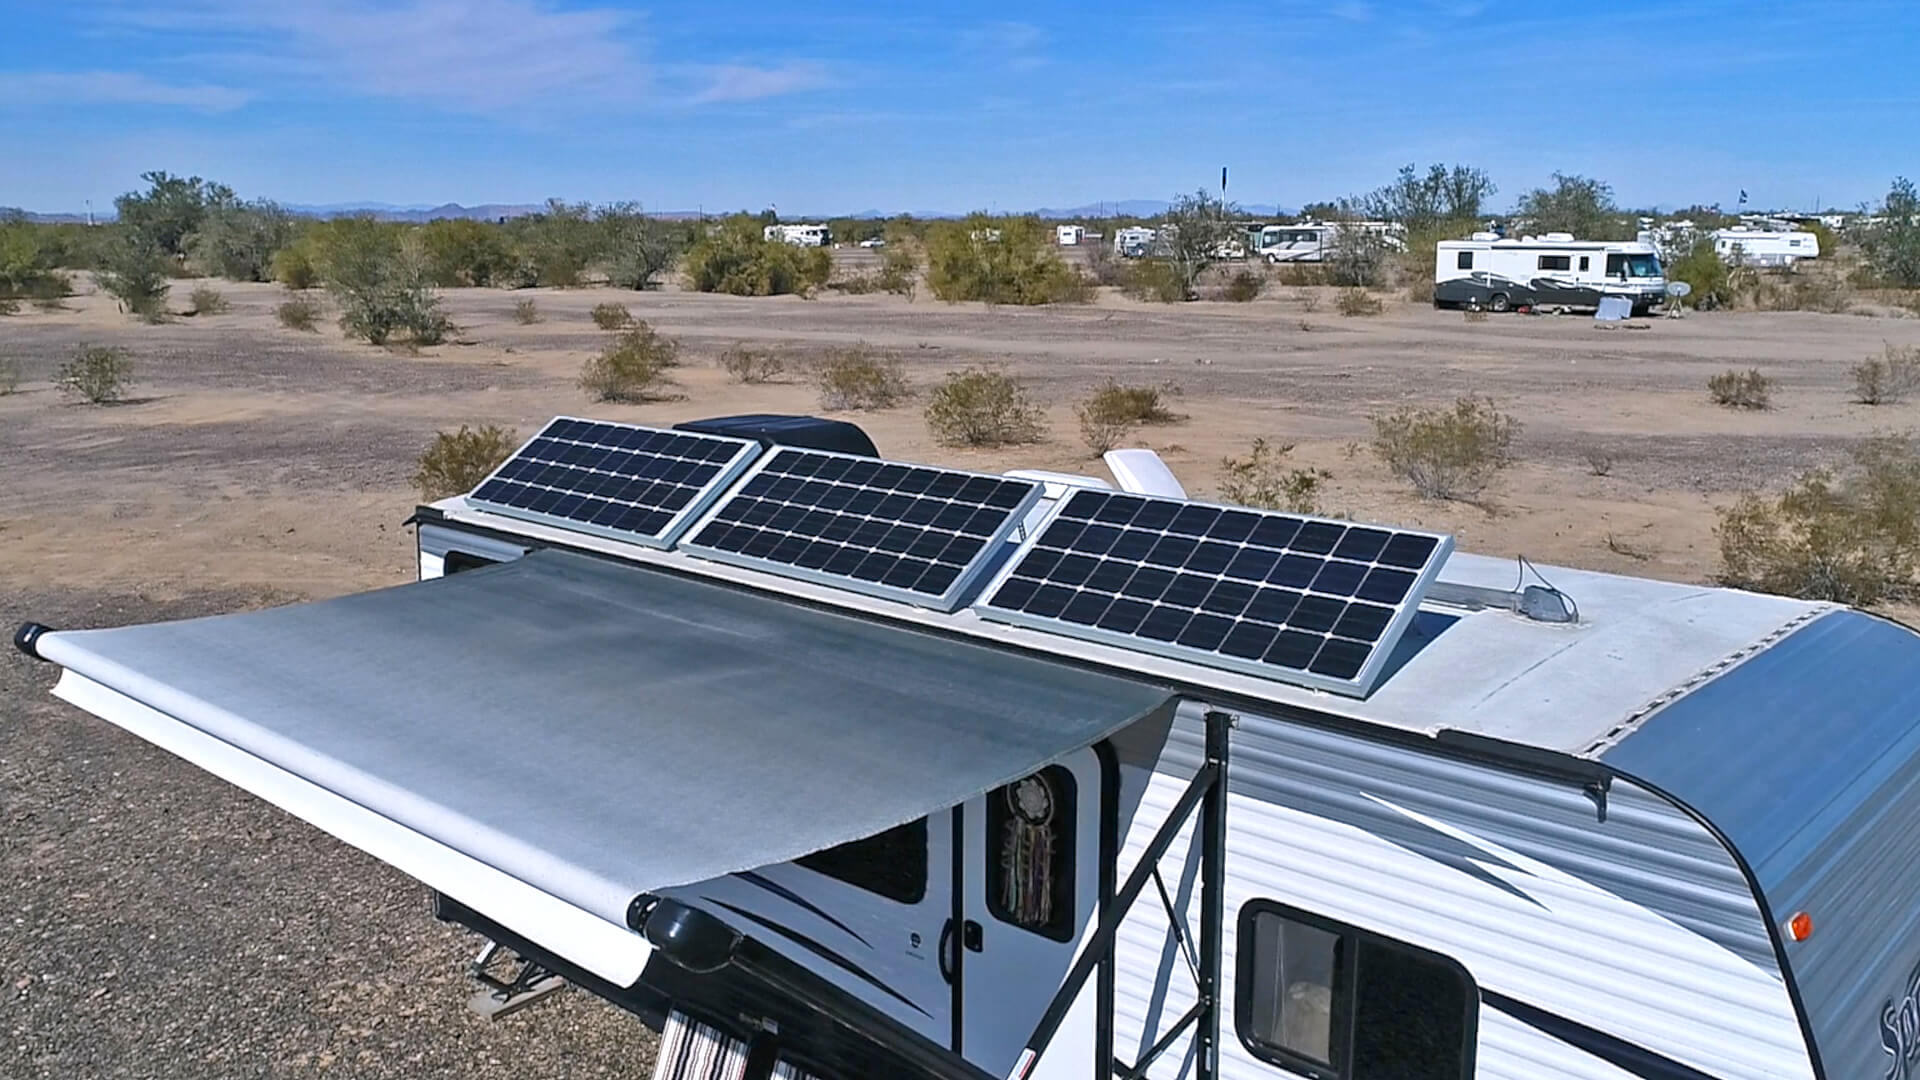
It is important to consider whether you’re using rigid or flexible solar panels when planning how to attach them on the top of your recreational vehicle.
If you want to attach rigid panels to your roof, you’ll need screws, but you can stick some flexible panels on there with adhesive. If you choose to install flexible panels, check that the glue you plan to use is appropriate for your roof membrane material.
Layout Your Panels
To get started, lay out your panels in the locations where you intend to mount them. Because having nearby vents or air conditioning units cast shade on the panels where you intend to put them may reduce the effectiveness of your installation, you need to make sure that this is not going to happen.
It is also advisable to put your panels in close proximity to your battery bank in order to reduce the amount of wire that is required.
Secure Mounting Hardware
The next step is to fasten the mounting hardware to your roof, taking care to use an appropriate sealant underneath the hardware in order to keep the watertight seal that your roof now has.
Be sure that the sealant you choose is one that is suitable with the membrane that covers your roof. If you are unsure about something, you may always check with the manufacturer of your RV.
Attach Panels To Mounting Hardware
The next step is to use the appropriate screws to attach the actual panels to the mounting hardware.
If you want to avoid drilling right through the panel itself, be sure to aim for the frame of the panel instead of the panel itself.
If you continue in this manner, the effectiveness of the panel as a whole will suffer.
Run Wiring To Battery Bank
Wiring must be run down into the RV and to the battery bank once the panels have been installed.
The refrigerator’s vent, a plumbing pipe, or a newly drilled hole are three popular methods of gaining access to the RV’s interior.
After running wires, regardless of the method used, it is imperative to take the necessary precautions to seal off any exposed areas from the elements.
Connect Battery Bank To Electrical Panel
Finally, you’ll have to connect the battery bank to your RV’s electrical panel, and from there to the AC side of the panel (if you don’t use an inverter).
Using a multimeter to verify wire polarity and clearly labeling wires during the wiring process are also good practices.
How Many Solar Panels do I Need to Run an RV Air Conditioner?
To keep the air conditioner in your RV running for eight hours a day, you will need solar panels with a minimum of 1,800 watts of capacity. This is assuming that you are utilizing RV-grade panels capable of producing 12 volts. This is obviously based on the assumption that you also have a significant amount of battery power.

